CalCal’s Daily Entries screen is where you’ll note down most of your “ins and outs”. It’s based around a calendar that shows your total transactions for each day.
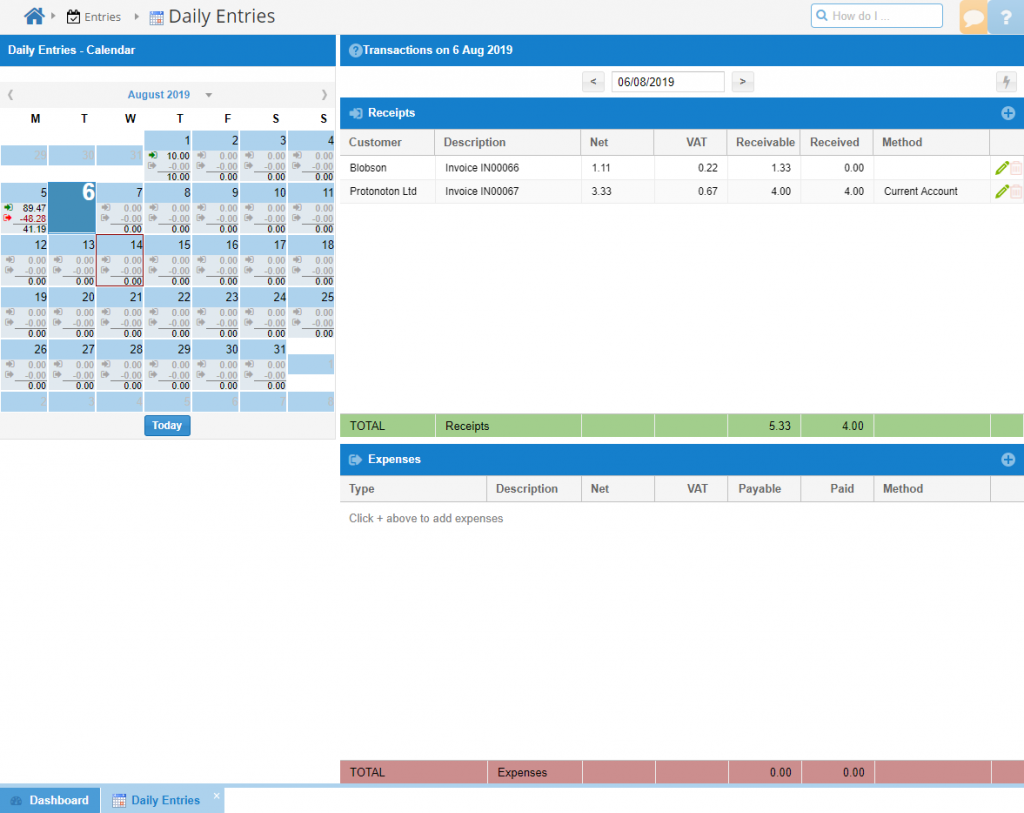
The Calendar
Entering a simple expense or taking / sale is as simple as selecting the day on the calendar and clicking the + button
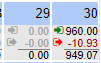
Each day in the calendar has an ‘in’ and ‘out’ icon next to it.
When there are transactions against this day, these icons will show green or red. You can click the icon on a day to go straight to adding a taking or expense for that day.
The Transactions Pane
Receipts and Expenses go here.
Receipts
Click the plus (+) button in the header of the receipts table, or click in the empty table to open the Add Receipt box.
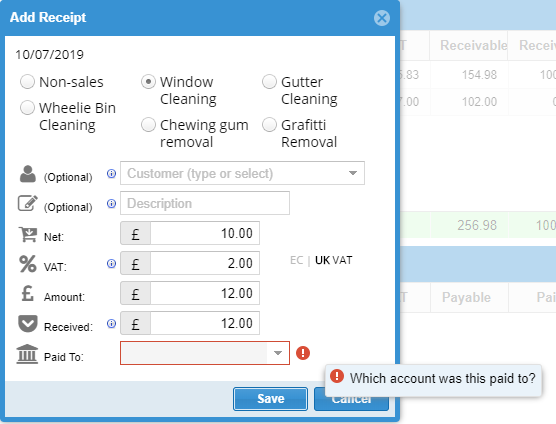
We’ve gone overboard on the income types in this example; to start with you’ll just have non-sales and sales.
Don’t forget – if you put a received amount, you’ll need to tell CalCal which account (or cash) it went into.
If you haven’t received the full amount, you’ll need to tell CalCal which customer owes you this money.
Create a new customer by typing their name.
And after all that about the calendar, you can still click on the date to change it!
Expenses
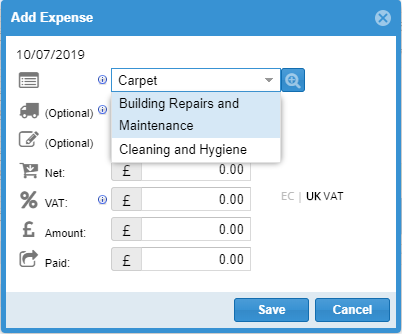
Click the plus (+) button in the header of the expenses table, or click in the empty table to open the Add Expense box.
Not sure what expense type to use? Or can’t find one in the dropdown?
Just search by typing a keyword into the box (like “carpet” in the example above). You can also press the Search button to see what things you can claim on each of HMRC’s expense categories.
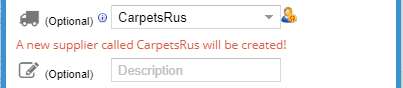
Need to make a new supplier?
Simply type in their name. If it’s not already there, pressing save will make a new one.
Date Toggle

Above the Receipts and Expenses boxes is a simple date box that lets you skip forward/back days, or type in a date to go to that date. It’s also handy when your screen is too small to fit the calendar on side-by-side.
Of course, the calendar itself will let you find a date easily and skip months forwards and backwards.
Parts of the entry boxes
These descriptions are here to aid those using the web app and the click-and-point help.
Customer
Select a customer from the dropdown list or search by typing their name.
If you haven’t yet made the customer, just type their name and save the transaction. You can add more details later on in the Customers screen.
Description
Put a description here. It can be anything that describes this income – what job was done or why you were paid.
VAT
If you’re VAT-registered, you’ll see a VAT entry box.
If you enter the net amount first, this will pre-fill at 20% and the amount and received boxes will include the estimated VAT. You can always change either the VAT or the Net boxes to the correct amount and the VAT box will fill in the difference.
Received
How much of the amount have you received? If you have not been paid yet, enter 0 here and CalCal will let you send the customer a statement showing how much they owe you.
Expense Type
See above for an example of searching for a new expense type by keyword.
CalCal sets your accounts up with a few pre-set expense types, based on your business type. When you click the drop-down box you’ll see these and any other ones you’ve used. We also have a bunch of searchable expense types that you can add to your business’s collection by searching.

If you’re still not sure or can’t find the right category, click the magnifying glass to open the Expense Types Search box.
This post is also available in: فارسی